

BLOW TORCH
January 30, 2024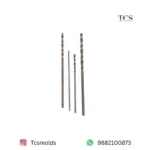
DILLL BIT SET OF 4
January 30, 2024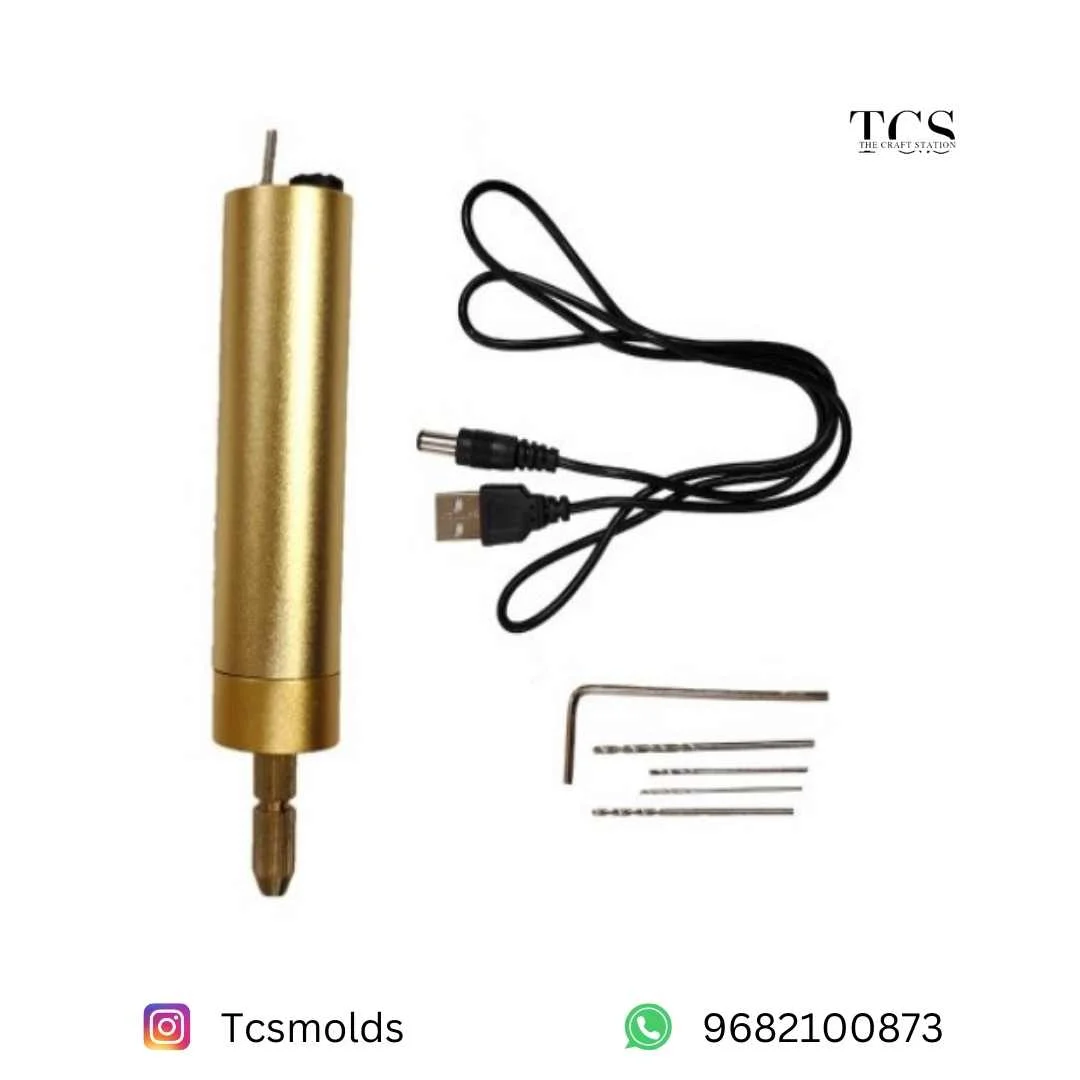
ELECTRIC DRILL
₹799.00
Out of stock
Using an electric drill for resin art keychains can add creativity and customization to your projects. Here’s how you can use an electric drill for making resin art keychains:
### Materials Needed:
1. **Resin**: Epoxy resin suitable for keychain making.
2. **Hardener**: Corresponding hardener for the resin.
3. **Mixing Cups and Stir Sticks**: To mix the resin and hardener.
4. **Pigments or Dyes**: Optional, for coloring the resin.
5. **Keychain Hardware**: Split rings, lobster clasps, or keychain rings.
6. **Electric Drill**: Small handheld drill with variable speeds.
7. **Drill Bits**: Small drill bits suitable for drilling holes in resin.
8. **Safety Gear**: Safety goggles and gloves to protect against resin dust.
### Steps:
1. **Prepare Your Work Area**: Ensure you have a clean and flat surface to work on. Protect your workspace with a disposable covering or a silicone mat.
2. **Mix the Resin**: Follow the manufacturer’s instructions to mix the resin and hardener thoroughly in the recommended ratio. Add any desired pigments or dyes during the mixing process.
3. **Pour the Resin**: Pour the mixed resin into your desired mold for the keychains. Use a mold specifically designed for making keychains, or you can create your own molds using silicone or other suitable materials.
4. **Allow the Resin to Partially Cure**: Let the resin cure partially until it reaches a gel-like consistency. This stage is crucial for drilling holes without damaging the resin.
5. **Mark Hole Locations**: Use a marker or pen to mark the locations where you want to drill holes for attaching keychain hardware. Ensure that the marks are evenly spaced and centered for aesthetic purposes.
6. **Drill Holes**: Attach a small drill bit to your electric drill. Begin drilling holes at the marked locations, using gentle pressure to avoid cracking or damaging the resin. Start with a low-speed setting and gradually increase speed if needed.
7. **Clean Up**: After drilling all the holes, clean any resin dust or debris from the keychains using a soft brush or cloth. Be careful not to scratch the resin surface.
8. **Attach Keychain Hardware**: Once the resin has fully cured according to the manufacturer’s instructions, attach the keychain hardware to the drilled holes. This may include split rings, lobster clasps, or keychain rings, depending on your preference.
9. **Inspect and Finish**: Inspect each keychain for any imperfections or rough edges. You can use sandpaper or a fine file to smooth out any rough areas if necessary. Wipe the keychains clean with a soft cloth.
10. **Final Touches**: Add any additional decorations or embellishments to personalize your keychains further, such as charms, glitter, or decals.
By following these steps, you can effectively use an electric drill to create custom resin art keychains with drilled holes for attaching hardware, adding uniqueness and functionality to your creations.
Only logged in customers who have purchased this product may leave a review.
Related products
-
MIRROR MOLD EXTRA DEEP
Original price was: ₹200.00.₹180.00Current price is: ₹180.00. -
3d metalic alcohol ink (12 colours)
Original price was: ₹1,600.00.₹1,200.00Current price is: ₹1,200.00. -
MEDIUM PYRAMID , RING HOLDER , CANDEL MOLD
Original price was: ₹200.00.₹150.00Current price is: ₹150.00.


Reviews
There are no reviews yet.